

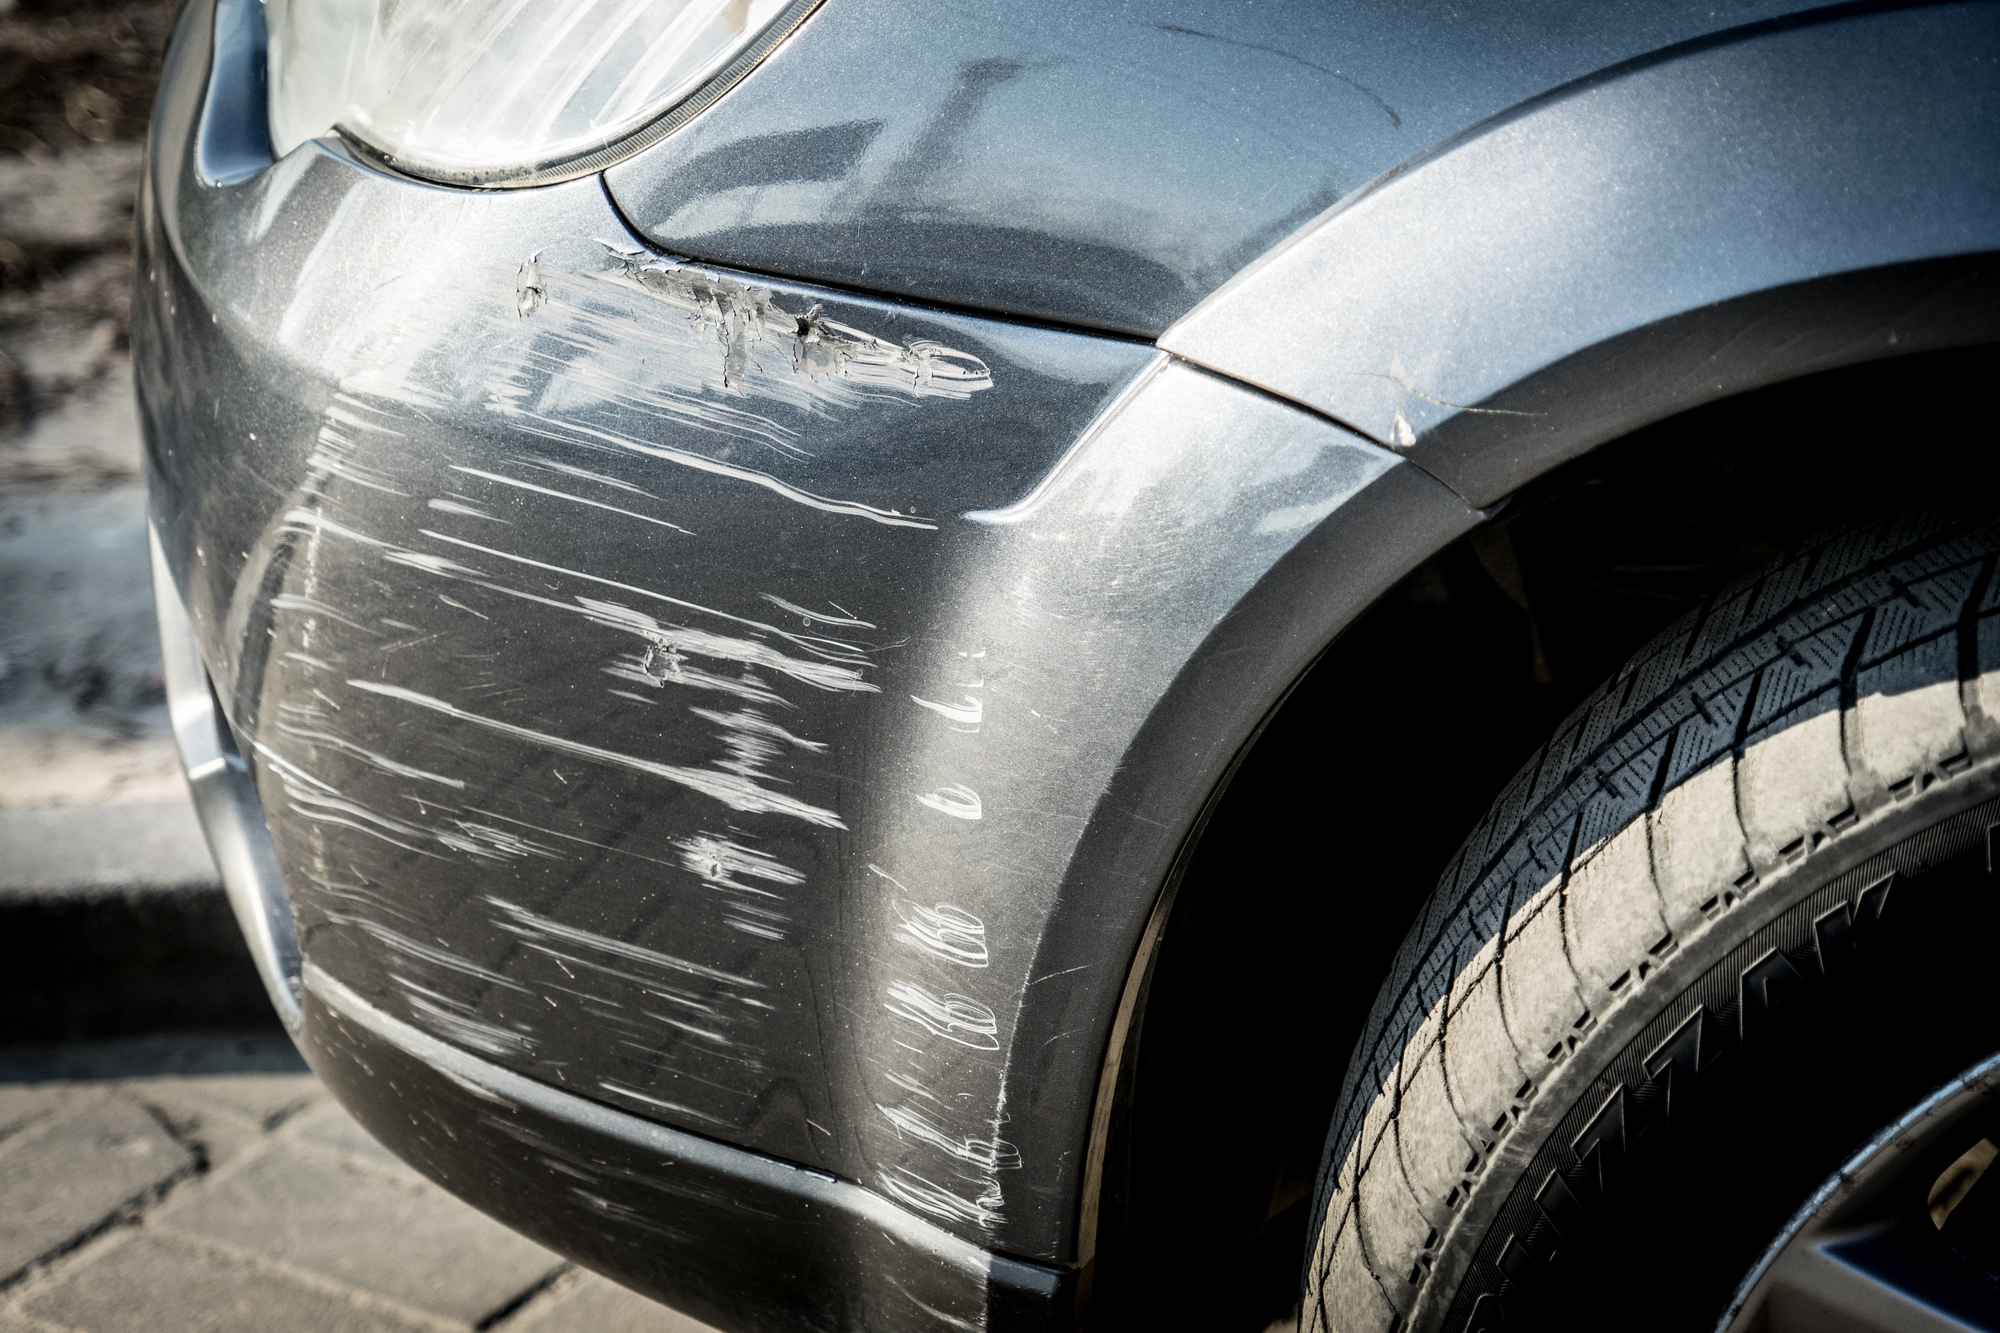
When it comes to car maintenance, the little details can make a big difference. Minor scratches on the car body plastics, such as bumpers, mirrors, and trim, can be unsightly and may diminish the overall appearance of your vehicle. Fortunately, with the right tools and techniques, you can easily polish out these scratches and restore your car’s pristine look. Here’s how you can do it yourself!
Why Do Scratches Happen?
Before we delve into the repair process, it’s essential to understand why these scratches occur in the first place. Car body plastics can get scratched due to:
- Parking mishaps: Small dings and scratches from other cars or obstacles in parking areas.
- Road debris: Stones, gravel, and other debris kicked up while driving can leave marks.
- Improper cleaning: Using abrasive materials or harsh chemicals when cleaning your car.
- Environmental factors: Exposure to harsh weather, sunlight, or pollutants.
Knowing the causes helps prevent future scratches and keeps your car looking new.
Materials You Will Need
Here’s a list of materials you’ll need to polish out minor scratches from your car’s plastic body parts:
- Microfibre cloths: Soft cloths are essential to avoid further scratching.
- Plastic cleaner: Specifically designed for cleaning car plastics, these cleaners help prep the surface.
- Polishing compound: A plastic-specific polishing compound will help smooth out scratches.
- Sandpaper: Wet/dry sandpaper with 2000 to 3000 grit for deeper scratches.
- Scratch remover: Specially formulated for car plastics, this will fill in the scratches.
- Plastic restorer or conditioner: To restore shine and protect the plastic.
- Water: For cleaning and wet sanding.
- Spray bottle: For easy application of water during sanding.
Step-by-Step Process
1. Clean the Area
Start by thoroughly cleaning the scratched area with a plastic cleaner and a microfiber cloth. This will remove any dirt, grime, or wax that may interfere with the repair process.
- Spray the cleaner: Apply a generous amount of plastic cleaner on the surface.
- Wipe with a cloth: Use a clean microfiber cloth to wipe away all dirt and residue.
Cleaning ensures you have a clear view of the scratches and prepares the surface for further treatment.
2. Assess the Scratch
Determine the depth of the scratch. Run your fingernail over the scratch; if it catches, the scratch is deep, and you might need to sand it. For lighter scratches, you can skip to the polishing step.
- Light scratches: Often just affect the clear coat or surface layer.
- Deeper scratches: May need more intensive treatment, including sanding.
3. Sand the Scratch (For Deeper Scratches)
For scratches that are more than surface deep, sanding is necessary. Use wet/dry sandpaper to smooth out the edges of the scratch.
- Soak the sandpaper: Immerse the sandpaper in water for a few minutes to make it pliable.
- Sand gently: Use the sandpaper to lightly sand the scratched area in a circular motion. Keep the area wet by spraying water frequently to prevent heat buildup and ensure smooth sanding.
Note: Sanding too aggressively can damage the plastic, so proceed with caution and use only fine-grit sandpaper.
4. Apply Scratch Remover
Once the scratch is sanded down (if necessary), apply a scratch remover specifically designed for plastics. These products fill in the scratches and blend them with the surrounding area.
- Use a small amount: Apply a small amount of scratch remover to a microfiber cloth.
- Buff the scratch: Rub the cloth over the scratch in circular motions, applying even pressure. Continue until the scratch begins to disappear.
Let the scratch remover sit as per the product instructions to ensure it sets properly.
5. Polish the Plastic
Now, it’s time to polish the area to restore its original shine. A polishing compound will help smooth the surface and enhance its appearance.
- Apply the compound: Use a clean microfiber cloth to apply the polishing compound to the area.
- Buff in circular motions: Gently buff the surface in small, circular motions until the plastic begins to shine.
Polishing not only removes residual scratch remover but also brings back the shine that might have dulled during sanding.
6. Restore and Protect
After polishing, use a plastic restorer or conditioner to protect the area and restore its luster.
- Apply restorer: Spread a small amount of restorer over the polished area using a microfiber cloth.
- Buff to shine: Continue buffing until the surface appears glossy and new.
Restorers often contain UV protectants that shield your car’s plastic from future damage caused by sunlight and other environmental factors.
Additional Tips
- Test products first: Always test any scratch remover or polish on a small, inconspicuous area to ensure it doesn’t discolor the plastic.
- Work in the shade: Avoid direct sunlight when working on your car, as it can cause products to dry too quickly and leave streaks.
- Regular maintenance: Regularly wash and wax your car, including plastic areas, to keep it looking its best.
- Professional help: If scratches are too deep or extensive, it might be worth consulting a professional to avoid further damage.
Conclusion
Polishing out minor scratches on car body plastics is a straightforward DIY task that can significantly improve your vehicle's appearance. With a little patience and the right materials, you can achieve professional-looking results from the comfort of your own garage. Remember to assess the severity of the scratches first and follow the steps carefully to restore your car's plastic parts to their former glory. Happy polishing!
By keeping your car’s body plastics scratch-free, you maintain its aesthetic appeal and even enhance its resale value. Feel free to reach out with any questions or share your own tips and experiences in the comments below. Happy polishing!