

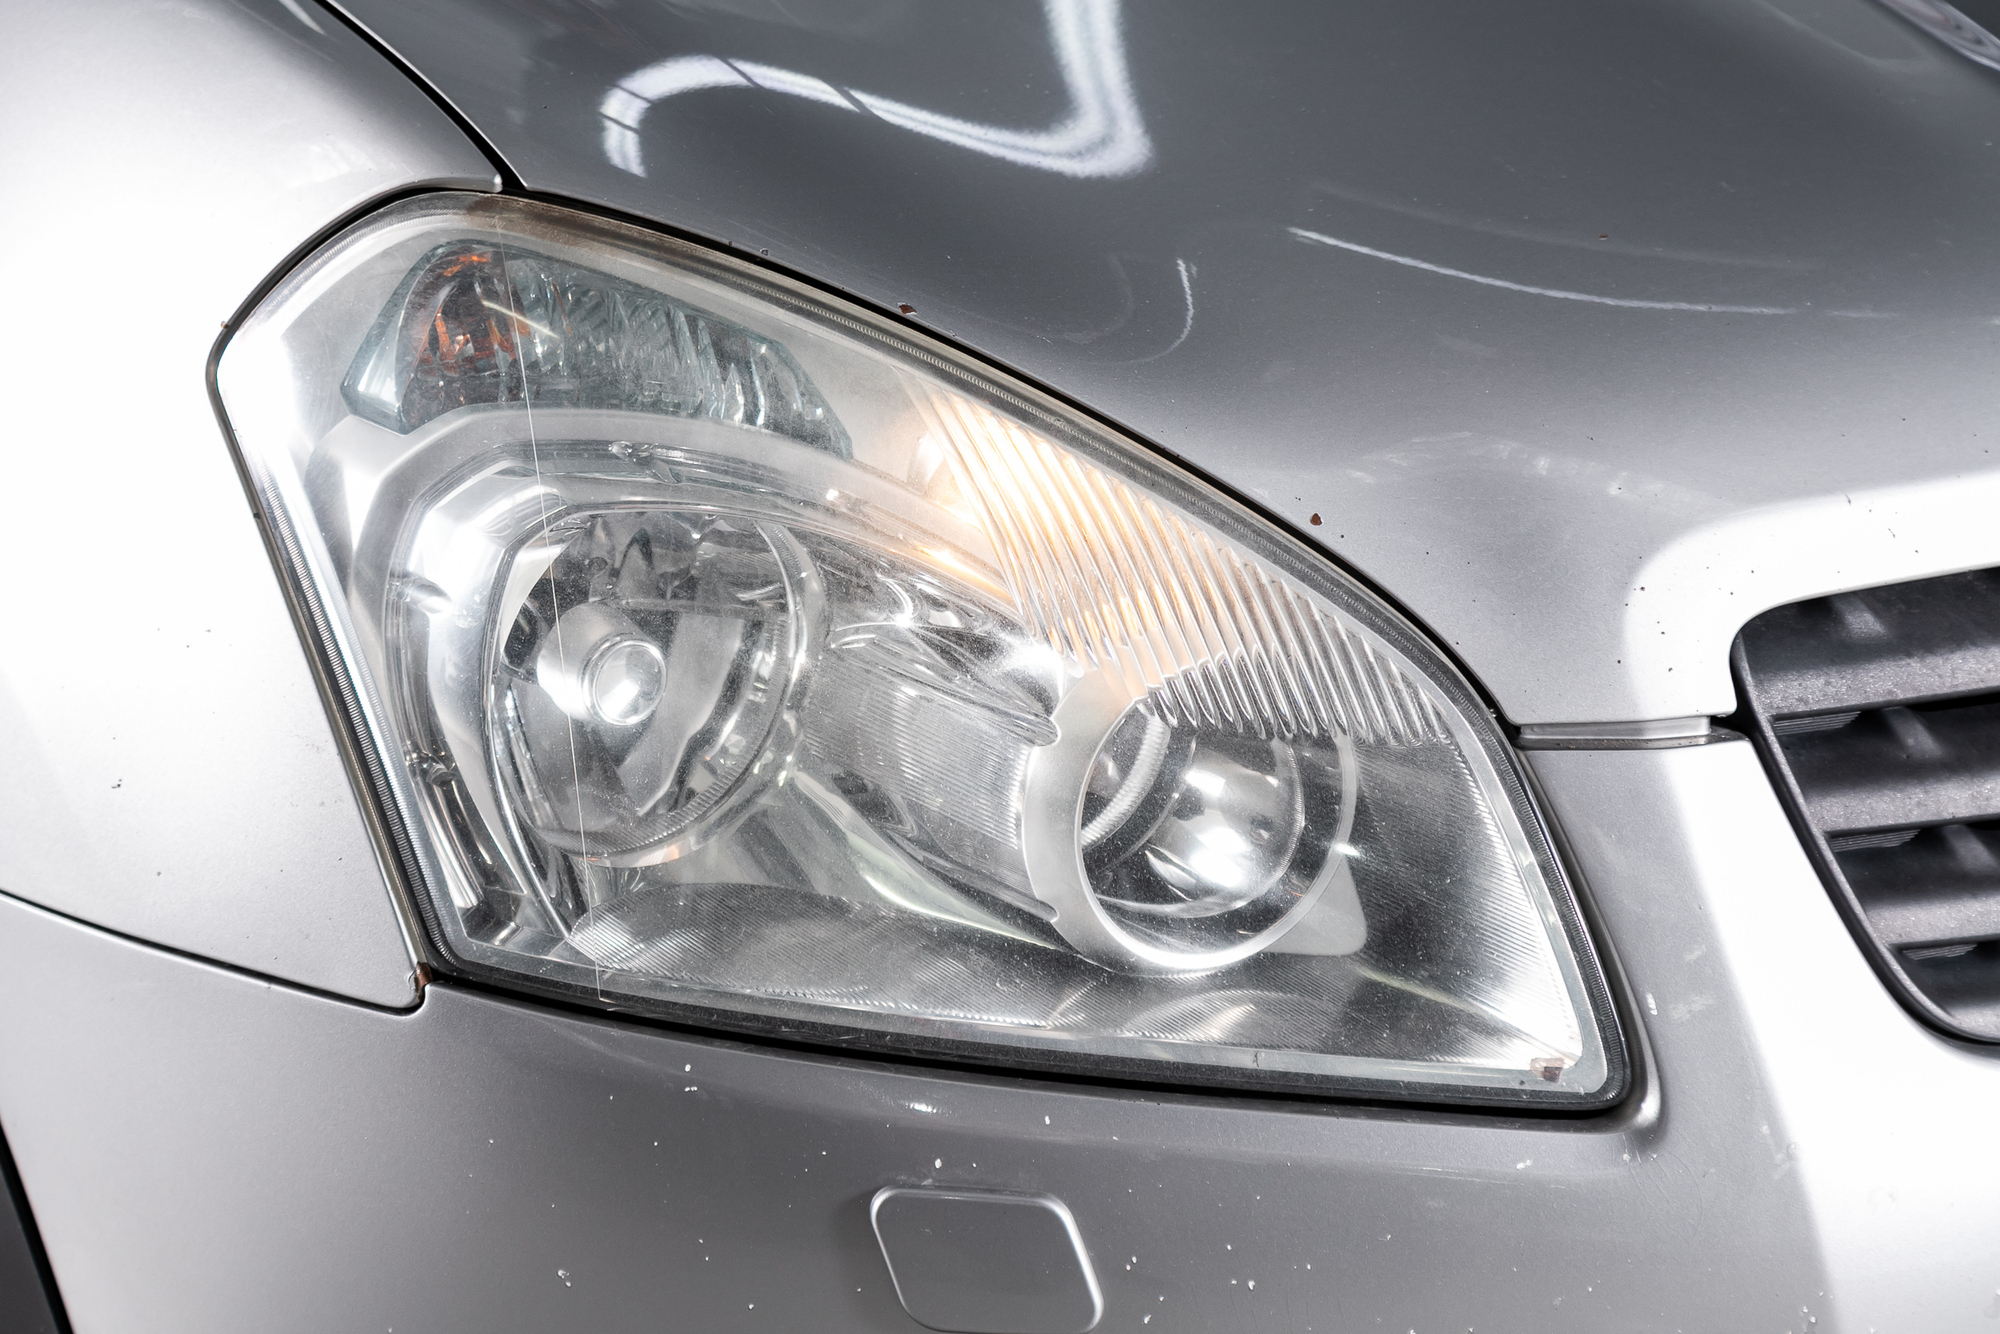
fogged headlight restoration

If you've noticed that your car's headlights are looking cloudy or yellowed, you're not alone. Over time, the plastic covers of car headlights can become dull and foggy due to exposure to sunlight, road debris, and environmental pollutants. This not only detracts from your car's appearance but can also reduce the effectiveness of your headlights, making night driving less safe.

Fortunately, there's a simple and inexpensive solution to this common problem: toothpaste. That's right, the same toothpaste you use to clean your teeth can be an effective agent for restoring clarity to your car's headlight plastics. In this guide, we’ll show you how to use toothpaste to bring your headlights back to their former glory.

Why Do Headlights Become Cloudy?

Before diving into the restoration process, it's important to understand why headlights become cloudy in the first place. Here are a few key factors:

  • Oxidation: The most common cause of headlight deterioration is oxidation. The plastic covers are exposed to UV rays from the sun, which gradually breaks down the outer layer of the plastic, leading to a cloudy or yellow appearance.

  • Environmental Contaminants: Dirt, grime, and road salts accumulate on the headlight surface over time. These contaminants can embed themselves in the plastic, exacerbating the cloudy effect.

  • Physical Damage: Scratches from road debris and car washes can also make headlights appear dull and worn.

Knowing these causes helps explain why regular maintenance and occasional restoration are necessary to keep your headlights in top condition.

Why Use Toothpaste?

Toothpaste is a surprisingly effective cleaning agent for car headlights due to its mild abrasiveness. Here’s why it works:

  • Abrasive Particles: Toothpaste contains mild abrasive particles that can gently scrub away the oxidised layer of plastic, revealing the clearer material underneath.

  • Polishing Action: The polishing action of toothpaste helps smooth out minor scratches and imperfections, making the headlights appear clearer.

  • Cost-Effective: It's an inexpensive solution compared to commercial headlight restoration kits.

However, not all toothpastes are created equal. For the best results, opt for a white toothpaste with a gritty texture (such as baking soda toothpaste) as gel-based or whitening toothpastes may not be as effective.

Materials You Will Need

Before you start, gather the following materials:

  • White toothpaste: Opt for a basic, gritty toothpaste for best results.
  • Microfibre cloths: These are gentle on the plastic and great for polishing.
  • Water spray bottle: To rinse the headlight and toothpaste.
  • Masking tape: To protect the car’s paint around the headlight.
  • Soft-bristled brush or toothbrush: For scrubbing tough spots.
  • Car wax or sealant (optional): To protect the headlights after cleaning.

Step-by-Step Guide to Restoring Headlights with Toothpaste

Follow these steps to restore your car’s headlights:

Step 1: Clean the Headlights

Before applying the toothpaste, clean the headlights thoroughly to remove surface dirt and grime.

  1. Rinse with water: Spray the headlight with water to loosen dirt.
  2. Wipe with a cloth: Use a microfibre cloth to wipe away any loose debris. If the headlights are particularly dirty, you might want to use a mild car soap.
  3. Dry the area: Ensure the headlight is dry before proceeding to the next step.

Step 2: Protect the Surrounding Areas

Protect your car's paintwork from accidental damage while you work on the headlights.

  • Use masking tape: Apply masking tape around the edges of the headlight to safeguard the surrounding paint. This will prevent any accidental scratches or smudges.

Step 3: Apply Toothpaste

Now it’s time to apply the toothpaste to the headlight.

  1. Squeeze a small amount: Apply a generous amount of toothpaste onto a microfibre cloth or directly onto the headlight.
  2. Spread evenly: Using your fingers or the cloth, spread the toothpaste across the entire surface of the headlight. Ensure even coverage for consistent results.

Step 4: Scrub the Headlight

This is where the magic happens. The abrasiveness of the toothpaste will work to remove the oxidation and polish the plastic.

  • Use a soft-bristled brush: If the headlight is heavily oxidised, consider using a soft-bristled brush or an old toothbrush to scrub the surface. Apply moderate pressure and use circular motions to work the toothpaste into the plastic.

  • Scrub thoroughly: Focus on areas that appear more cloudy or yellowed. This process may take several minutes, so be patient and thorough.

Step 5: Rinse and Wipe Clean

Once you've thoroughly scrubbed the headlight, it's time to rinse off the toothpaste.

  1. Rinse with water: Use a spray bottle to rinse the headlight with water, removing all traces of toothpaste.
  2. Wipe with a clean cloth: Use a clean, damp microfibre cloth to wipe away any remaining residue. Repeat the rinsing and wiping process until the headlight is clear of toothpaste.

Step 6: Inspect and Repeat if Necessary

After the first round of cleaning, inspect the headlights to see if they meet your desired level of clarity.

  • Check for clarity: If the headlights are still a bit cloudy, repeat the toothpaste application and scrubbing process. It might take a couple of attempts for heavily oxidised headlights.

Step 7: Apply a Protective Sealant (Optional)

To maintain the restored clarity and protect against future oxidation, consider applying a protective sealant.

  • Use car wax or sealant: Apply a thin layer of car wax or a UV-protectant sealant to the headlight. Follow the product’s instructions for application and drying times.

This step helps to seal the plastic and provide a protective barrier against UV rays and environmental pollutants, prolonging the clarity of your headlights.

Tips for Maintaining Clear Headlights

Keeping your headlights clear and bright doesn't end with restoration. Regular maintenance is key to preventing future oxidation. Here are some tips to help maintain your car headlights:

  1. Regular Cleaning: Clean your headlights every few weeks to remove dirt and prevent the build-up of contaminants.

  2. Use UV Protection: Apply a UV protectant regularly to shield the plastic from the sun’s harmful rays.

  3. Avoid Harsh Chemicals: When cleaning your car, use mild soaps and avoid harsh chemicals that might damage the headlight plastic.

  4. Park in the Shade: Whenever possible, park your car in a garage or shaded area to reduce UV exposure.

  5. Cover with a Car Cover: If parking in the shade isn’t feasible, consider using a car cover to protect the headlights and paintwork.

Conclusion

Restoring car headlight plastics with toothpaste is a simple, cost-effective method that can significantly improve your vehicle's appearance and headlight performance. With just a few household items and a bit of elbow grease, you can remove the cloudiness from your headlights, enhancing both the look and safety of your car.

So, next time you notice your headlights looking a bit dull, don’t reach for expensive restoration kits—try using toothpaste first! You might be surprised by the results.

If you found this guide helpful or have any tips and tricks of your own, feel free to share them in the comments below. Happy driving!
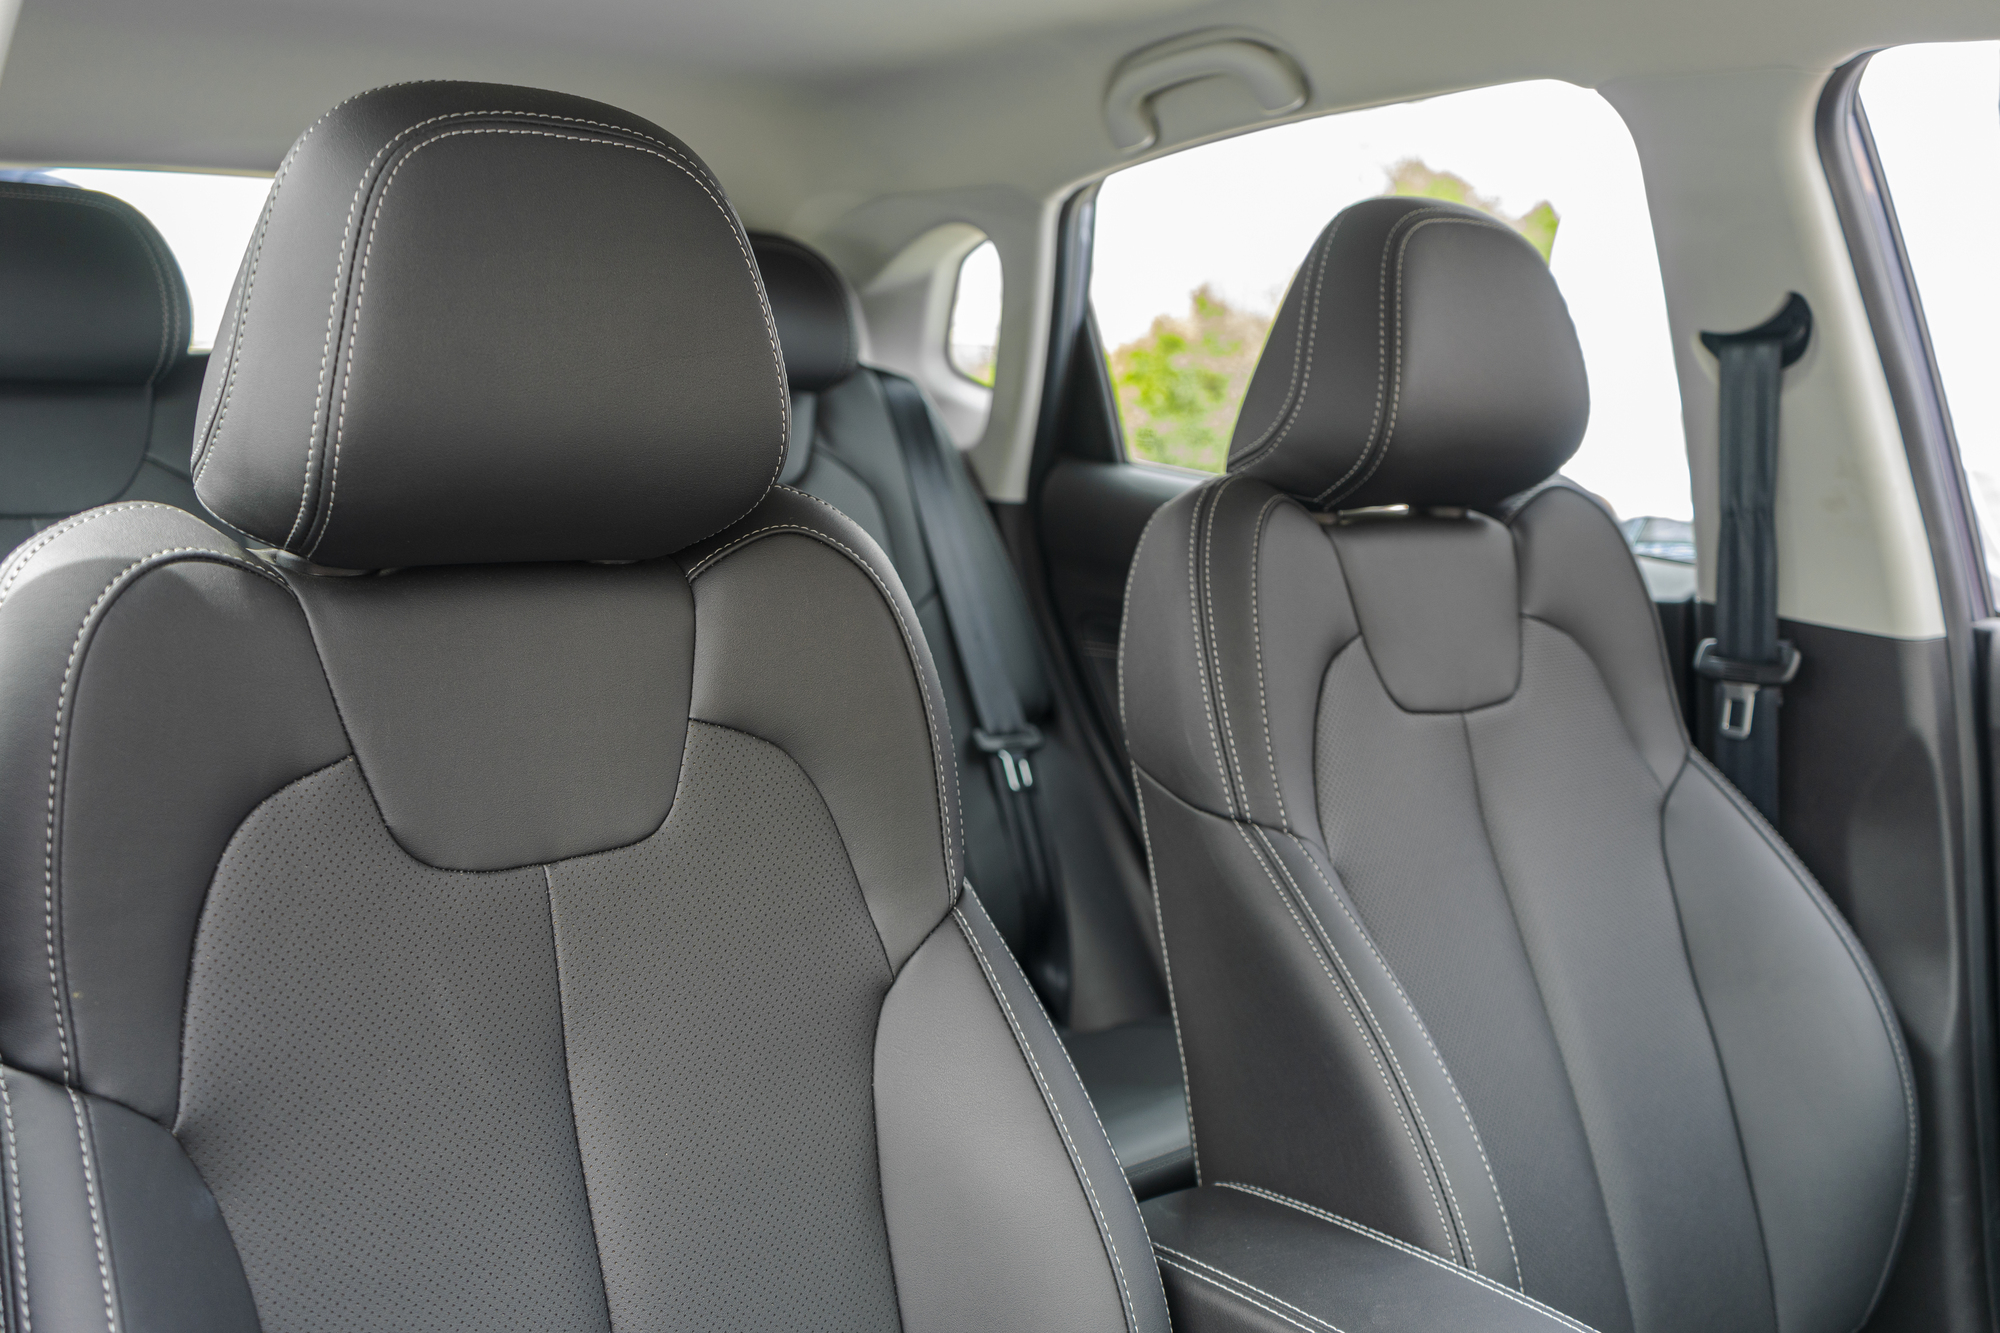
stained car upholstery

Keeping your car's interior clean and fresh can sometimes feel like a never-ending battle, especially when it comes to dealing with upholstery stains. Whether it’s a spilt drink, muddy footprints, or the inevitable crumbs from snacks on the go, car seat stains can be both unsightly and challenging to remove. Fortunately, with the right techniques and products, you can restore your car seats to their original condition. This guide will walk you through the best ways to remove upholstery stains from car seats using simple steps and accessible materials.

Understanding Your Car’s Upholstery

Before diving into stain removal, it's important to understand the type of upholstery in your car. The most common materials include:

  • Fabric: Usually made of nylon or polyester, fabric seats are durable but absorbent.
  • Leather: Adds a luxurious feel but requires special care to maintain its quality.
  • Vinyl: Easy to clean and often used in older models or as a budget option.

Each type of upholstery requires a different cleaning approach, so be sure to check your car's manual for any specific recommendations or warnings about cleaning products.

Common Types of Stains

Here are some of the most common stains you might encounter in your car:

  • Food and drink spills: Coffee, juice, and soft drinks.
  • Oil and grease: From car repairs or oily food.
  • Mud and dirt: Especially common after outdoor adventures.
  • Ink and dyes: From pens or clothing that transfers colour.
  • Pet stains: Including hair, urine, and vomit.

Understanding the nature of the stain will help you choose the right method and product for effective removal.

Materials You Will Need

Gather the following materials before you begin cleaning:

  • Microfibre cloths: Soft and absorbent, ideal for cleaning upholstery.
  • Upholstery cleaner: Choose one suitable for your seat material.
  • White vinegar: A natural and effective stain remover.
  • Baking soda: For odour removal and stain lifting.
  • Cold water: Essential for diluting stains and cleaning products.
  • Soft brush: To gently scrub fabric upholstery.
  • Leather conditioner: For leather seats to restore moisture and shine.
  • Spray bottle: For applying homemade cleaning solutions.

Step-by-Step Guide to Removing Upholstery Stains

Follow these steps to tackle stains effectively and safely:

1. Act Quickly

The sooner you address a stain, the easier it will be to remove. Fresh stains are less likely to set into the fabric, making them easier to clean.

  • Blot, don’t rub: Use a microfibre cloth to gently blot up excess liquid or debris. Rubbing can push the stain deeper into the fabric.
  • Remove solids: Carefully lift away any solid matter with a spoon or knife, being cautious not to push it further into the seat.

2. Pre-Treat the Stain

Before applying a cleaner, pre-treat the area with a mild solution to loosen the stain.

  • Mix a solution: Combine equal parts of white vinegar and cold water in a spray bottle.
  • Spray the stain: Lightly mist the stained area without soaking it.
  • Let it sit: Allow the solution to sit for 5-10 minutes to break down the stain.

3. Apply Upholstery Cleaner

Choose a cleaner that is safe for your specific upholstery type and follow the instructions carefully.

  • Test in a hidden area: Apply a small amount of cleaner in an inconspicuous spot to ensure it doesn’t discolour or damage the fabric.
  • Apply cleaner: Spray or dab the cleaner directly onto the stain. Avoid over-saturating the fabric.
  • Gently scrub: Use a soft brush or microfibre cloth to work the cleaner into the stain with circular motions.

4. Rinse and Blot

After treating the stain, it's essential to remove any remaining cleaner to prevent residue and odours.

  • Dampen a cloth: Moisten a clean microfibre cloth with cold water.
  • Blot the area: Gently blot the treated area to lift away the cleaner and any loosened stain particles.
  • Repeat if necessary: For stubborn stains, you may need to repeat the cleaning process several times.

5. Dry the Upholstery

Proper drying is crucial to prevent mildew and odours.

  • Use dry cloths: Blot the cleaned area with a dry microfibre cloth to absorb as much moisture as possible.
  • Leave doors open: Allow your car doors or windows to remain open to let fresh air circulate and speed up drying.
  • Avoid direct sunlight: While drying, keep the car out of direct sunlight to prevent fading or damage to the upholstery.

Special Considerations for Leather and Vinyl Seats

For leather and vinyl seats, a slightly different approach is needed:

Leather Seats

  • Use leather cleaner: Apply a specialised leather cleaner and gently buff it into the stain with a soft cloth.
  • Condition the leather: After cleaning, apply a leather conditioner to keep the material supple and prevent cracks.
  • Avoid excess water: Leather should not be overly saturated with water to prevent damage.

Vinyl Seats

  • Use mild soap: Mix a few drops of mild dish soap with warm water for a gentle cleaning solution.
  • Scrub gently: Use a soft brush to work the solution into the stain, then rinse with a damp cloth.
  • Avoid abrasive tools: Steer clear of harsh scrubbing tools that can scratch the vinyl surface.

Homemade Solutions for Stubborn Stains

If commercial cleaners aren't doing the trick, consider these homemade alternatives:

Baking Soda Paste

  • Ingredients: Baking soda and water.
  • Instructions: Mix into a paste, apply to the stain, let sit for 15-20 minutes, then scrub and rinse.

Club Soda

  • Instructions: Spray club soda on the stain and scrub gently with a soft brush, then blot dry with a cloth.

Vinegar and Dish Soap

  • Ingredients: 1 cup vinegar, 1 tablespoon dish soap, 2 cups of warm water.
  • Instructions: Mix in a spray bottle, apply to the stain, scrub gently, then rinse.

Preventing Future Stains

Maintaining your car’s interior involves more than just cleaning up after spills. Consider these preventative measures:

  • Use seat covers: Protect your upholstery from stains and wear with removable seat covers.
  • Regular vacuuming: Keep dirt and debris at bay with routine vacuuming.
  • Immediate action: Clean spills and stains as soon as they occur to prevent setting.
  • Apply fabric protector: Use a fabric protector spray to create a barrier against stains and spills.

Conclusion

Removing upholstery stains from car seats doesn't have to be daunting. With the right materials, techniques, and a little patience, you can keep your car's interior looking spotless and fresh. Whether you're dealing with a stubborn coffee spill or muddy footprints, following these steps will help you tackle any stain effectively. Remember, regular maintenance is key to keeping your car seats in top condition. If you have any questions or tips of your own, feel free to share them in the comments below. Happy cleaning!

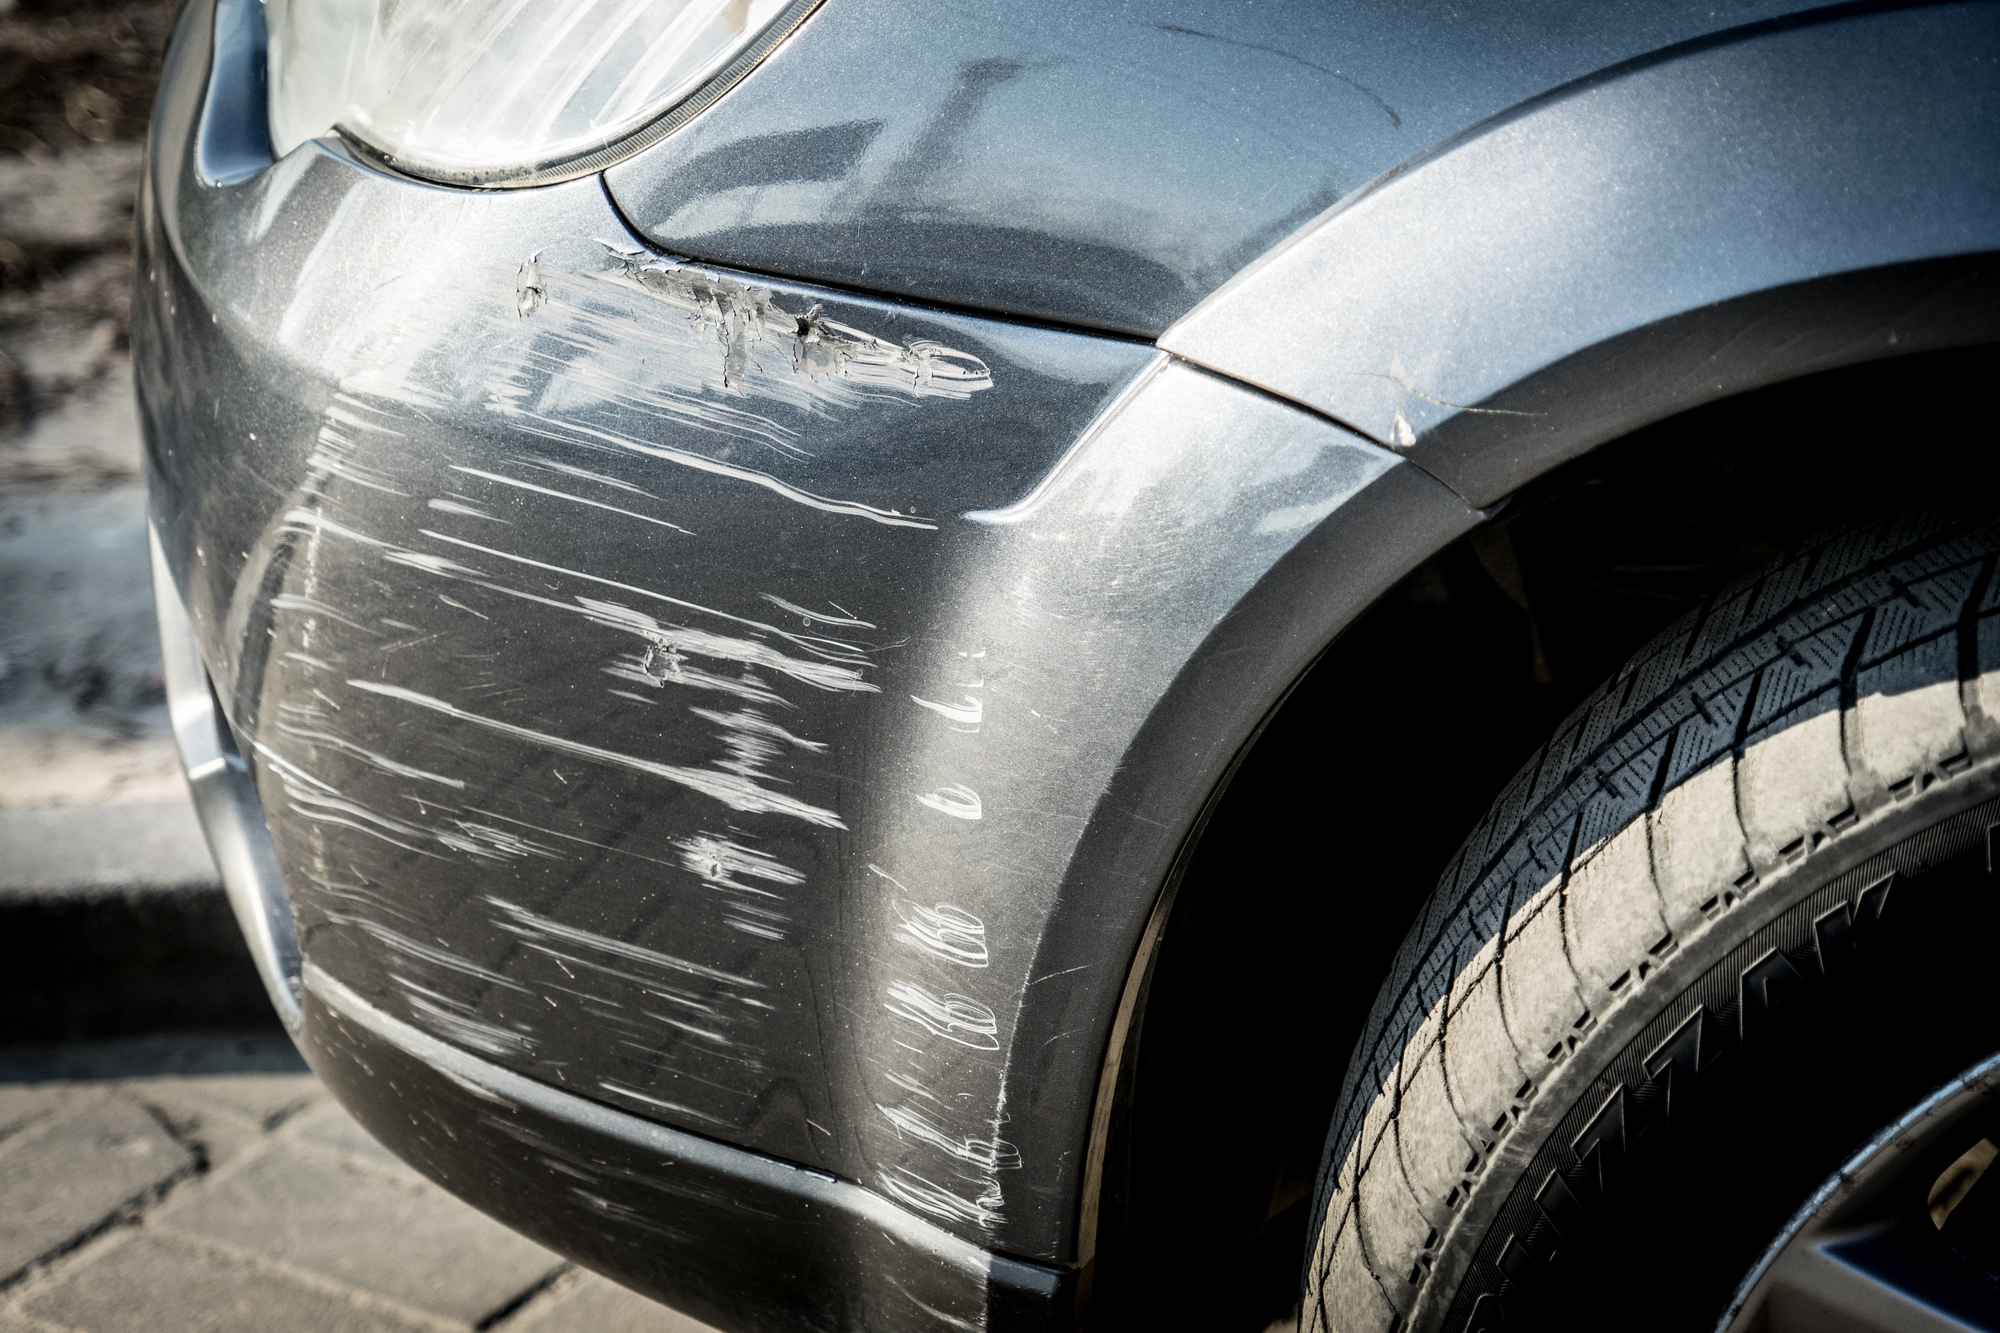
scratched car bumper

When it comes to car maintenance, the little details can make a big difference. Minor scratches on the car body plastics, such as bumpers, mirrors, and trim, can be unsightly and may diminish the overall appearance of your vehicle. Fortunately, with the right tools and techniques, you can easily polish out these scratches and restore your car’s pristine look. Here’s how you can do it yourself!

Why Do Scratches Happen?

Before we delve into the repair process, it’s essential to understand why these scratches occur in the first place. Car body plastics can get scratched due to:

  • Parking mishaps: Small dings and scratches from other cars or obstacles in parking areas.
  • Road debris: Stones, gravel, and other debris kicked up while driving can leave marks.
  • Improper cleaning: Using abrasive materials or harsh chemicals when cleaning your car.
  • Environmental factors: Exposure to harsh weather, sunlight, or pollutants.

Knowing the causes helps prevent future scratches and keeps your car looking new.

Materials You Will Need

Here’s a list of materials you’ll need to polish out minor scratches from your car’s plastic body parts:

  • Microfibre cloths: Soft cloths are essential to avoid further scratching.
  • Plastic cleaner: Specifically designed for cleaning car plastics, these cleaners help prep the surface.
  • Polishing compound: A plastic-specific polishing compound will help smooth out scratches.
  • Sandpaper: Wet/dry sandpaper with 2000 to 3000 grit for deeper scratches.
  • Scratch remover: Specially formulated for car plastics, this will fill in the scratches.
  • Plastic restorer or conditioner: To restore shine and protect the plastic.
  • Water: For cleaning and wet sanding.
  • Spray bottle: For easy application of water during sanding.

Step-by-Step Process

1. Clean the Area

Start by thoroughly cleaning the scratched area with a plastic cleaner and a microfiber cloth. This will remove any dirt, grime, or wax that may interfere with the repair process.

  • Spray the cleaner: Apply a generous amount of plastic cleaner on the surface.
  • Wipe with a cloth: Use a clean microfiber cloth to wipe away all dirt and residue.

Cleaning ensures you have a clear view of the scratches and prepares the surface for further treatment.

2. Assess the Scratch

Determine the depth of the scratch. Run your fingernail over the scratch; if it catches, the scratch is deep, and you might need to sand it. For lighter scratches, you can skip to the polishing step.

  • Light scratches: Often just affect the clear coat or surface layer.
  • Deeper scratches: May need more intensive treatment, including sanding.

3. Sand the Scratch (For Deeper Scratches)

For scratches that are more than surface deep, sanding is necessary. Use wet/dry sandpaper to smooth out the edges of the scratch.

  • Soak the sandpaper: Immerse the sandpaper in water for a few minutes to make it pliable.
  • Sand gently: Use the sandpaper to lightly sand the scratched area in a circular motion. Keep the area wet by spraying water frequently to prevent heat buildup and ensure smooth sanding.

Note: Sanding too aggressively can damage the plastic, so proceed with caution and use only fine-grit sandpaper.

4. Apply Scratch Remover

Once the scratch is sanded down (if necessary), apply a scratch remover specifically designed for plastics. These products fill in the scratches and blend them with the surrounding area.

  • Use a small amount: Apply a small amount of scratch remover to a microfiber cloth.
  • Buff the scratch: Rub the cloth over the scratch in circular motions, applying even pressure. Continue until the scratch begins to disappear.

Let the scratch remover sit as per the product instructions to ensure it sets properly.

5. Polish the Plastic

Now, it’s time to polish the area to restore its original shine. A polishing compound will help smooth the surface and enhance its appearance.

  • Apply the compound: Use a clean microfiber cloth to apply the polishing compound to the area.
  • Buff in circular motions: Gently buff the surface in small, circular motions until the plastic begins to shine.

Polishing not only removes residual scratch remover but also brings back the shine that might have dulled during sanding.

6. Restore and Protect

After polishing, use a plastic restorer or conditioner to protect the area and restore its luster.

  • Apply restorer: Spread a small amount of restorer over the polished area using a microfiber cloth.
  • Buff to shine: Continue buffing until the surface appears glossy and new.

Restorers often contain UV protectants that shield your car’s plastic from future damage caused by sunlight and other environmental factors.

Additional Tips

  • Test products first: Always test any scratch remover or polish on a small, inconspicuous area to ensure it doesn’t discolor the plastic.
  • Work in the shade: Avoid direct sunlight when working on your car, as it can cause products to dry too quickly and leave streaks.
  • Regular maintenance: Regularly wash and wax your car, including plastic areas, to keep it looking its best.
  • Professional help: If scratches are too deep or extensive, it might be worth consulting a professional to avoid further damage.

Conclusion

Polishing out minor scratches on car body plastics is a straightforward DIY task that can significantly improve your vehicle's appearance. With a little patience and the right materials, you can achieve professional-looking results from the comfort of your own garage. Remember to assess the severity of the scratches first and follow the steps carefully to restore your car's plastic parts to their former glory. Happy polishing!

By keeping your car’s body plastics scratch-free, you maintain its aesthetic appeal and even enhance its resale value. Feel free to reach out with any questions or share your own tips and experiences in the comments below. Happy polishing!